Fleet Dash Cam Troubleshooting Guide
Learn how to troubleshoot common dash cam issues in fleet vehicles, ensuring reliability and effective monitoring for your operations.
Dash cams are indispensable for fleet operators, offering critical evidence during accidents, monitoring driver behaviour, and reducing insurance fraud. However, they can encounter issues that disrupt performance. Here's how to address common problems:
- Power Issues: Check connections, voltage levels, and ensure cables are secure. Use parking mode to prevent battery drain.
- Recording Failures: Use high-speed SD cards (Class 10/U1 or U3), format them regularly, and replace worn-out cards every 12-18 months.
- Placement Problems: Mount cameras high on the windscreen, keep the lens unobstructed, and secure cables to avoid interference.
- Telematics Integration: Ensure stable power and data connections, and test for signal strength and software compatibility.
- Maintenance: Clean lenses monthly, update firmware, and inspect cables for wear.
For persistent issues, professional installation or support may be necessary. Regular upkeep ensures reliable performance and minimal downtime across your fleet.
How to Troubleshoot a Dash Cam | Halfords UK

Power and Connection Problems
Dash cam issues in fleet vehicles often trace back to power supply or connection glitches. Problems like no power, intermittent recording, or sudden shutdowns can result in missed footage. Tackling these challenges is key to ensuring reliable performance.
Check Power Connections and Voltage
Start by examining all physical connections. If your dash cam uses a 12V socket, confirm the plug is secure and the outlet is working. Fleet vehicles usually have multiple 12V sockets, so testing another outlet can help identify socket-specific issues. Also, look for corrosion or debris that could disrupt the connection.
For hardwired setups, inspect where the power cable links to the vehicle’s electrical system. Connections should be tight, corrosion-free, and the fuse in the power lead must be intact to avoid total power failure.
Voltage testing is another crucial step. Dash cams generally need a steady 12V supply, but vehicle systems can range from 11V to 14.4V depending on the battery’s condition and whether the engine is running. Use a multimeter to measure voltage with the engine on and off. If voltage dips below 11V or spikes near 15V, it could signal an issue. Voltage spikes during start-up can damage electronics without surge protection, while drops when the engine stops may cause sudden shutdowns.
Resolving intermittent power loss and unexpected shutdowns is the next priority to maintain consistent operation.
Fix Power Loss and Shutdowns
Loose connections are a common cause of intermittent power issues, particularly when vehicles hit bumps or vibrations. Check all connection points and secure cables with ties to ensure stability.
Battery-related shutdowns can occur if the dash cam continues recording after the engine is off, draining the vehicle’s battery. To avoid this, enable the dash cam’s parking mode. If the device powers down too quickly after the engine stops, adjust the low-voltage cutoff settings, typically adjustable between 11.6V and 12.4V.
For fleet vehicles, stable power is critical to prevent gaps in footage. Sudden shutdowns during operation might indicate overheating or unstable power. Ensure the dash cam is well-ventilated and not exposed to direct sunlight. Check that cooling vents are unobstructed by mounts or cables.
If the vehicle uses a dual battery system, make sure the dash cam connects to the correct battery. Tapping into the secondary battery instead of the main starter battery can cause power problems, especially when the battery isolator shifts between systems.
Test Telematics Integration
Power isn’t the only factor - telematics systems play a crucial role in fleet monitoring. Dash cams with telematics features rely on both power and data connections for seamless integration. Sometimes, these cams draw power through a telematics unit rather than directly from the vehicle, so it’s essential to check that the telematics unit has steady power and isn’t experiencing electrical faults.
Data connection issues can sometimes mimic power problems. If the dash cam has power but isn’t syncing with your fleet management system, inspect all data cables for damage or loose connections. Additionally, confirm the device has a strong cellular signal, as poor coverage can disrupt data transmission.
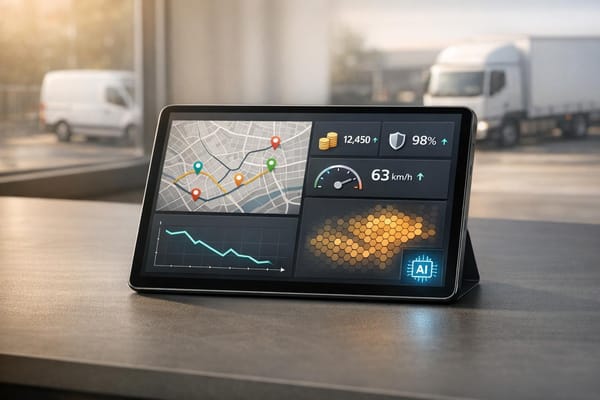
Integration testing is vital to ensure the dash cam receives stable power through the telematics system and maintains reliable communication with your fleet management platform. For fleet managers, systems like GRS Fleet Telematics are designed to manage power efficiently and ensure uninterrupted data flow. Testing emergency power backup features can also confirm the dash cam’s ability to operate for a few minutes after losing its main power source.
Recording and Storage Issues
Once power and connection issues are resolved, it’s time to tackle recording and storage challenges. Problems like recording failures or storage errors can result in missing critical fleet footage. These issues often stem from incompatible SD cards, corrupted files, or incorrect recording settings, all of which can undermine reliability and delay incident reviews.
SD Card Setup and Maintenance
For fleet dash cams, choosing the right SD card is crucial. Opt for Class 10/U1 cards at a minimum, or U3 cards for high-resolution recordings. These speed ratings ensure smooth, continuous video writing without frame drops or file corruption.
- A 32GB card typically holds 4–6 hours of 1080p footage.
- Larger cards, like 64GB to 128GB, are better suited for 8–12 hour shifts with loop recording enabled.
- Avoid cards exceeding 256GB, as many dash cams struggle with formatting and managing files on larger capacities.
Always format SD cards using the dash cam’s built-in formatting tool instead of a computer. This ensures the correct file system (usually FAT32) and cluster size for optimal performance. For fleet vehicles in regular use, format cards monthly. For high-mileage vehicles covering over 500 miles weekly, consider formatting them weekly.
Be alert to signs of SD card failure, such as frequent "card error" messages, files that fail to play back, or recordings that stop unexpectedly. Cards exposed to extreme temperatures - common in commercial vehicles - wear out faster. If a vehicle operates in conditions above 60°C or below -10°C, invest in high-endurance cards designed for continuous recording.
Inspect cards regularly for physical damage like cracks, discoloured contacts, or bent corners. These indicate exposure to heat, moisture, or stress. Replace damaged cards immediately to prevent further issues, such as corrupted footage or damage to the dash cam itself.
Configure Recording Settings
Properly configuring recording settings can greatly impact both footage quality and storage efficiency. Continuous recording captures all activity but uses up storage quickly. In contrast, event-triggered recording activates only during incidents like sudden braking, acceleration, or impacts, saving space while preserving key moments.
For most fleet needs, 1080p resolution strikes a good balance, offering clear footage of number plates and incidents without generating massive files. While 4K recording provides sharper detail, it significantly increases file sizes. Adjusting the frame rate is another way to optimise your recordings: 30fps is sufficient for smooth playback in most cases, while 60fps is better for capturing fast-moving incidents, though it doubles file sizes.
Enable loop recording to overwrite the oldest files automatically when storage is full. Set the loop duration to 3–5 minute segments. Shorter segments create more files and can slow down the system, while longer ones make it harder to locate specific incidents.
If audio recording is enabled, be aware it increases file sizes by 10–15%. Use audio recording for monitoring driver behaviour but disable it if storage is a concern or privacy issues arise. Once settings are optimised, test your dash cam to ensure it performs reliably.
Test for Storage Problems
Just as with power diagnostics, testing storage systems helps prevent unexpected recording failures. Start by removing the SD card and powering on the dash cam. Most devices will show a "no card" error but should continue functioning normally. If the dash cam fails to boot or displays other errors without the card, the issue likely lies with the device itself.
Run a recording test by using the dash cam’s built-in speed test (if available) or recording continuously for 30 minutes at maximum resolution. If the recording stops, stutters, or creates corrupted files, the SD card may not have the required write speed for your settings.
To check the card’s health, connect it to a computer and use a disk check utility. On Windows, right-click the card drive, select Properties, go to Tools, and run "Check for errors". This will identify bad sectors, corrupted files, or file system issues that could disrupt recordings.
Test the card’s durability by leaving the dash cam recording in a parked vehicle on a hot day (but monitor to avoid overheating damage). Cards that fail under heat stress are likely to cause issues during summer months or in vehicles parked in direct sunlight.
Finally, verify the card’s capacity by filling it with test files. This ensures the card matches its advertised storage and prevents unexpected failures when the actual limit is reached.
For high-use fleet vehicles, conduct these tests monthly. Check both the card’s condition and the dash cam’s recording functionality. Replace any card showing signs of wear before it fails completely, as corrupted cards can damage dash cam hardware or cause system crashes.
Installation and Placement Problems
Once power and recording concerns are sorted, the next step is ensuring your dash cam is securely installed. Proper cable management and hardware placement aren't just about aesthetics - they're key to maintaining the system's performance and ensuring driver safety.
Loose cables or unstable mounts can cause more than just inconvenience. They can interfere with the operation of the dash cam and even pose safety risks during sudden braking or sharp turns.
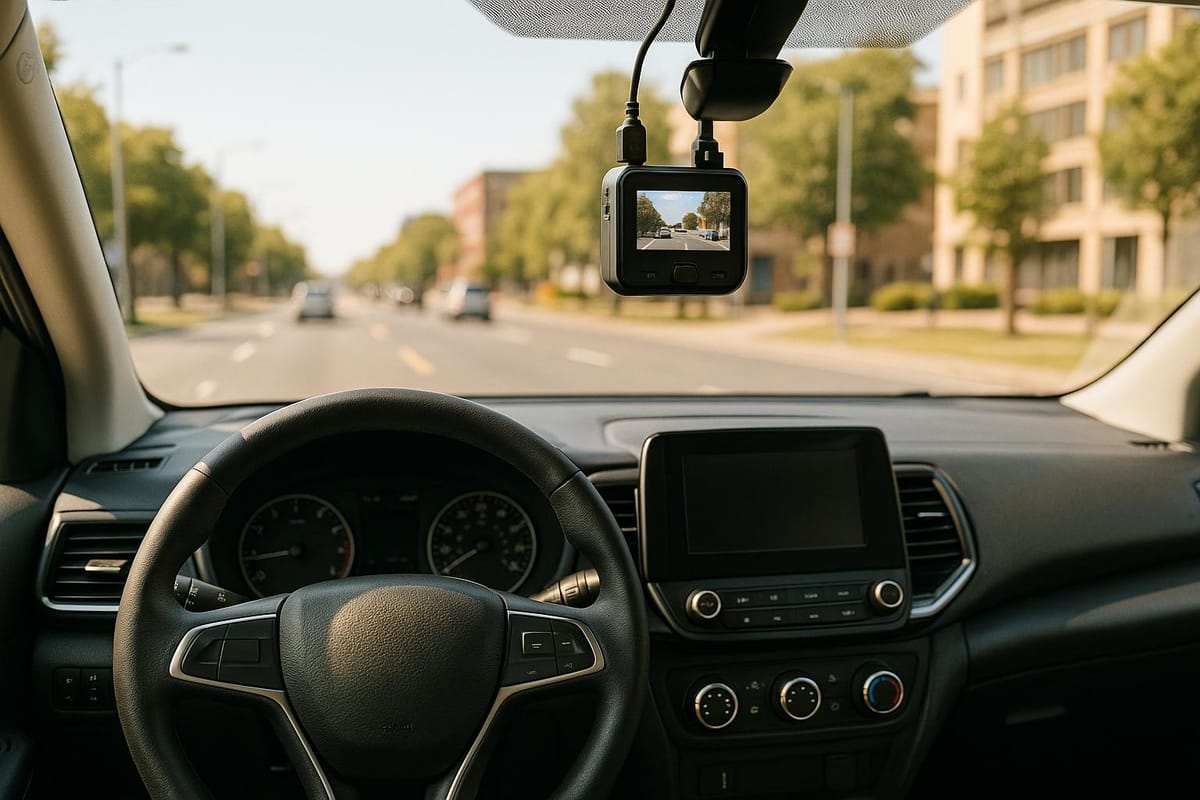
Position Dash Cam Correctly
The dash cam's placement is critical for capturing clear footage without obstructing the driver's view. Make sure it's mounted high on the windscreen, ideally behind the rear-view mirror. This position offers a good field of view while keeping the device discreet and out of the driver's line of sight.
Remove Physical Obstructions
Before installation, check for any obstructions that might block the camera's view. Clean the windscreen thoroughly and ensure no stickers, sunshades, or other items interfere with the dash cam's recording capabilities.
Secure Cables and Hardware
Neat and secure cable routing is a must. Run the power cables along the edge of the headliner, down the A-pillar, and tuck them beneath the door seals or carpets. Avoid placing cables near airbags or pedals, as this could create safety hazards or interfere with vehicle functionality.
To keep the dash cam firmly in place, use high-quality automotive adhesive mounts. Clean the mounting surface with isopropyl alcohol before attaching the mount to ensure it stays secure. For hardwired setups, connect to a switched power source to prevent draining the vehicle's battery when the engine is off.
For commercial fleets, professional installation can make a big difference. Experienced installers understand the nuances of different vehicles and can provide a durable setup, reducing the likelihood of future maintenance issues.
A well-executed physical installation not only ensures the dash cam works reliably but also complements other troubleshooting efforts, keeping your fleet's cameras running smoothly and effectively.
Advanced Troubleshooting and Maintenance
Once you've mastered the basics of troubleshooting, it's time to step up your game with advanced diagnostics and regular maintenance. These proactive measures can help you avoid recurring issues and keep your dash cam systems running smoothly. When basic fixes don't solve the problem, it's essential to dig deeper into your fleet's dash cam setup to prevent unnecessary disruptions.
Run Diagnostics and Update Firmware
Most dash cams come equipped with diagnostic tools that generate detailed health reports. These can typically be accessed through the camera's menu or a companion mobile app. Use these tools to spot issues like overheating or corrupted files before they become major problems.
Equally important are firmware updates, which are essential for keeping your dash cams performing at their best. Manufacturers frequently release updates to address bugs, enhance stability, and introduce new features. Make it a habit to check the manufacturer's website monthly for the latest firmware releases. Always download firmware directly from the official site to avoid security risks. Before updating, ensure the dash cam has a stable power supply and at least 50% battery charge.
The update process usually involves copying the firmware file to the SD card's root directory and then restarting the camera while pressing specific buttons. Since procedures vary by manufacturer, carefully follow the instructions provided. For fleets, remote firmware updates can save time and ensure all vehicles are updated consistently.
Regular Maintenance Tasks
A monthly maintenance routine can dramatically extend the life of your dash cams and help prevent common issues. Start by cleaning the lens with a microfibre cloth and a proper lens cleaning solution. Avoid household cleaners, as they can damage the anti-reflective coatings on the lens.
Next, inspect all cable connections for signs of wear or corrosion, especially near the fuse box, where vibrations can loosen connections over time. Ensure cables are securely tucked away to prevent them from interfering with vehicle controls.
SD card care is another critical task. In commercial settings, SD cards endure constant write cycles, which can degrade their performance. Replace them every 12-18 months to maintain reliable recording. Additionally, review sample footage monthly to monitor recording quality. Look for issues like pixelation, colour distortions, or audio sync problems. Test both day and night modes, as low-light performance tends to degrade first when the camera's sensors start to fail.
Keep an eye on operating temperatures as well. Dash cams generally function best between -10°C and 60°C. Extreme heat or cold can accelerate wear and tear, so consider parking strategies that reduce exposure to direct sunlight during hot summer months.
For fleet operators, staying on top of firmware updates and maintenance tasks ensures your vehicles experience minimal downtime and consistent performance.
Get Professional Help
If your troubleshooting and maintenance efforts don't resolve the issue, it might be time to call in the experts. Some problems, like complex telematics integration or persistent hardware failures, require professional attention. Many professional installation services also offer ongoing support, making them a valuable resource for diagnosing difficult issues.
Fleet operators should consider building relationships with local automotive electronics specialists who understand the unique needs of commercial vehicles. These experts can provide on-site service, handle bulk installations, and carry out emergency repairs, helping to minimise downtime.
For hardware failures covered under warranty, act promptly. Manufacturers often require documentation of the troubleshooting steps you've taken, so keep a record of these efforts. Organise your purchase receipts and installation records for easy access when filing claims.
If multiple units in your fleet are experiencing similar issues, it could point to a larger problem. This might stem from installation practices, environmental factors, or compatibility issues with specific vehicle models. A professional analysis can help pinpoint the root cause.
For GRS Fleet Telematics customers, dedicated technical support is available for integrated tracking and dash cam systems, ensuring smooth operation across your entire fleet.
Conclusion
To maintain the performance of your fleet dash cams, it's essential to combine immediate troubleshooting with regular, proactive maintenance. A systematic approach - starting with the basics and moving to advanced diagnostics - can help you address issues effectively and prevent future disruptions.
Start by tackling the fundamentals. Check power and data connections as outlined earlier, and ensure SD cards are maintained properly. Replacing SD cards every 12–18 months can minimise storage-related problems. Regularly clean camera lenses, inspect cables, and update firmware to reduce downtime and extend the life of your equipment. If issues persist despite these efforts, don't hesitate to call in the experts. For complex problems like telematics integration or recurring hardware failures, working with qualified automotive electronics specialists can provide the expertise you need.
Integrated telematics systems, such as those offered by GRS Fleet Telematics, bring an added layer of functionality to dash cams. With features like a 91% recovery rate for stolen vehicles and pricing starting at just £7.99 per month, these solutions offer more than just video recording - they provide comprehensive fleet security and oversight.
Ensuring the reliability of your dash cam system requires a mix of quick fixes and strategic planning. Keep a record of troubleshooting steps, maintain warranty documents, and encourage prompt driver reporting. By embedding these practices into your overall fleet safety strategy, you can ensure continuous protection, compliance, and peace of mind across your operations.
FAQs
How can I tell if my dash cam's SD card needs replacing, and how often should it be replaced?
If your dash cam starts showing recording errors, has missing or corrupted files, or stops recording altogether, it might be time to swap out the SD card. For the best performance, SD cards generally need replacing every 6–12 months, although higher-quality or less frequently used cards can last up to 1–2 years. Performing routine checks can help spot problems early and keep your dash cam running smoothly.
How can I ensure my dash cam works seamlessly with my fleet management system?
To make sure your dash cam works seamlessly with your fleet management system, proper installation is key. Start by carefully routing the power cables, keeping them away from sensitive components like DAB antennas to avoid any interference. Using dash cams designed specifically for telematics compatibility is equally important, as these are built to integrate smoothly with your existing systems.
Keep the dash cam's firmware updated to ensure stable performance and access to the latest features. If you're uncertain about installation or compatibility, reaching out to your vehicle's manufacturer for specific guidance can be a smart move. Following these steps will help your fleet's telematics system operate smoothly and without interruptions.
How can I ensure my fleet dash cams work reliably in extreme temperatures or tough conditions?
To keep your dash cam working effectively in tough conditions, take a few precautions to protect it from extreme temperatures or harsh environments. Avoid parking your car in direct sunlight for long periods, as excessive heat can harm components like the battery and SD card. Make sure the device has proper ventilation and is securely mounted to reduce the effects of vibrations.
For extra durability, you might want to invest in a dash cam with heat-resistant features or use heat-blocking films on your windows. Regularly inspect the adhesive on the mount to ensure it’s holding firmly, and check the camera itself for any signs of wear or damage. These simple steps can go a long way in keeping your dash cam reliable and extending its lifespan, even in challenging conditions.