5 Common Van Tracker Installation Mistakes
Learn the five critical mistakes to avoid when installing a van tracker to ensure optimal performance and compliance.
Installing a van tracker can seem straightforward, but small errors can lead to big problems like poor performance, legal issues, and even fines. Here are the top five mistakes to avoid:
- Poor Device Placement: Trackers need a clear view of the sky for GPS signals. Avoid placing them near metal or in hidden compartments.
- Incorrect Wiring: Mixing up power and ground wires can damage the tracker or your vehicle.
- Neglecting SIM Card Setup: Without the right SIM card and data plan, your tracker won’t work.
- Skipping Testing: Failing to test and calibrate can result in inaccurate tracking or missed alerts.
- Ignoring Updates: Outdated software can cause errors and leave your system vulnerable to cyber threats.
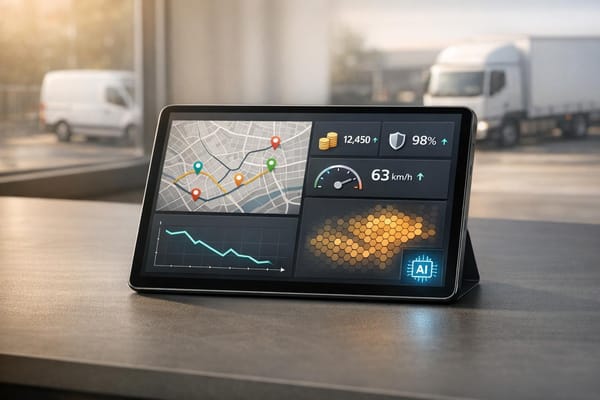
Avoiding these mistakes ensures reliable tracking, better security, and compliance with UK laws. Proper installation can also save money on fuel, reduce maintenance costs, and improve fleet management.
Fleetistics - 3 Wire Installs of GPS Trackers update
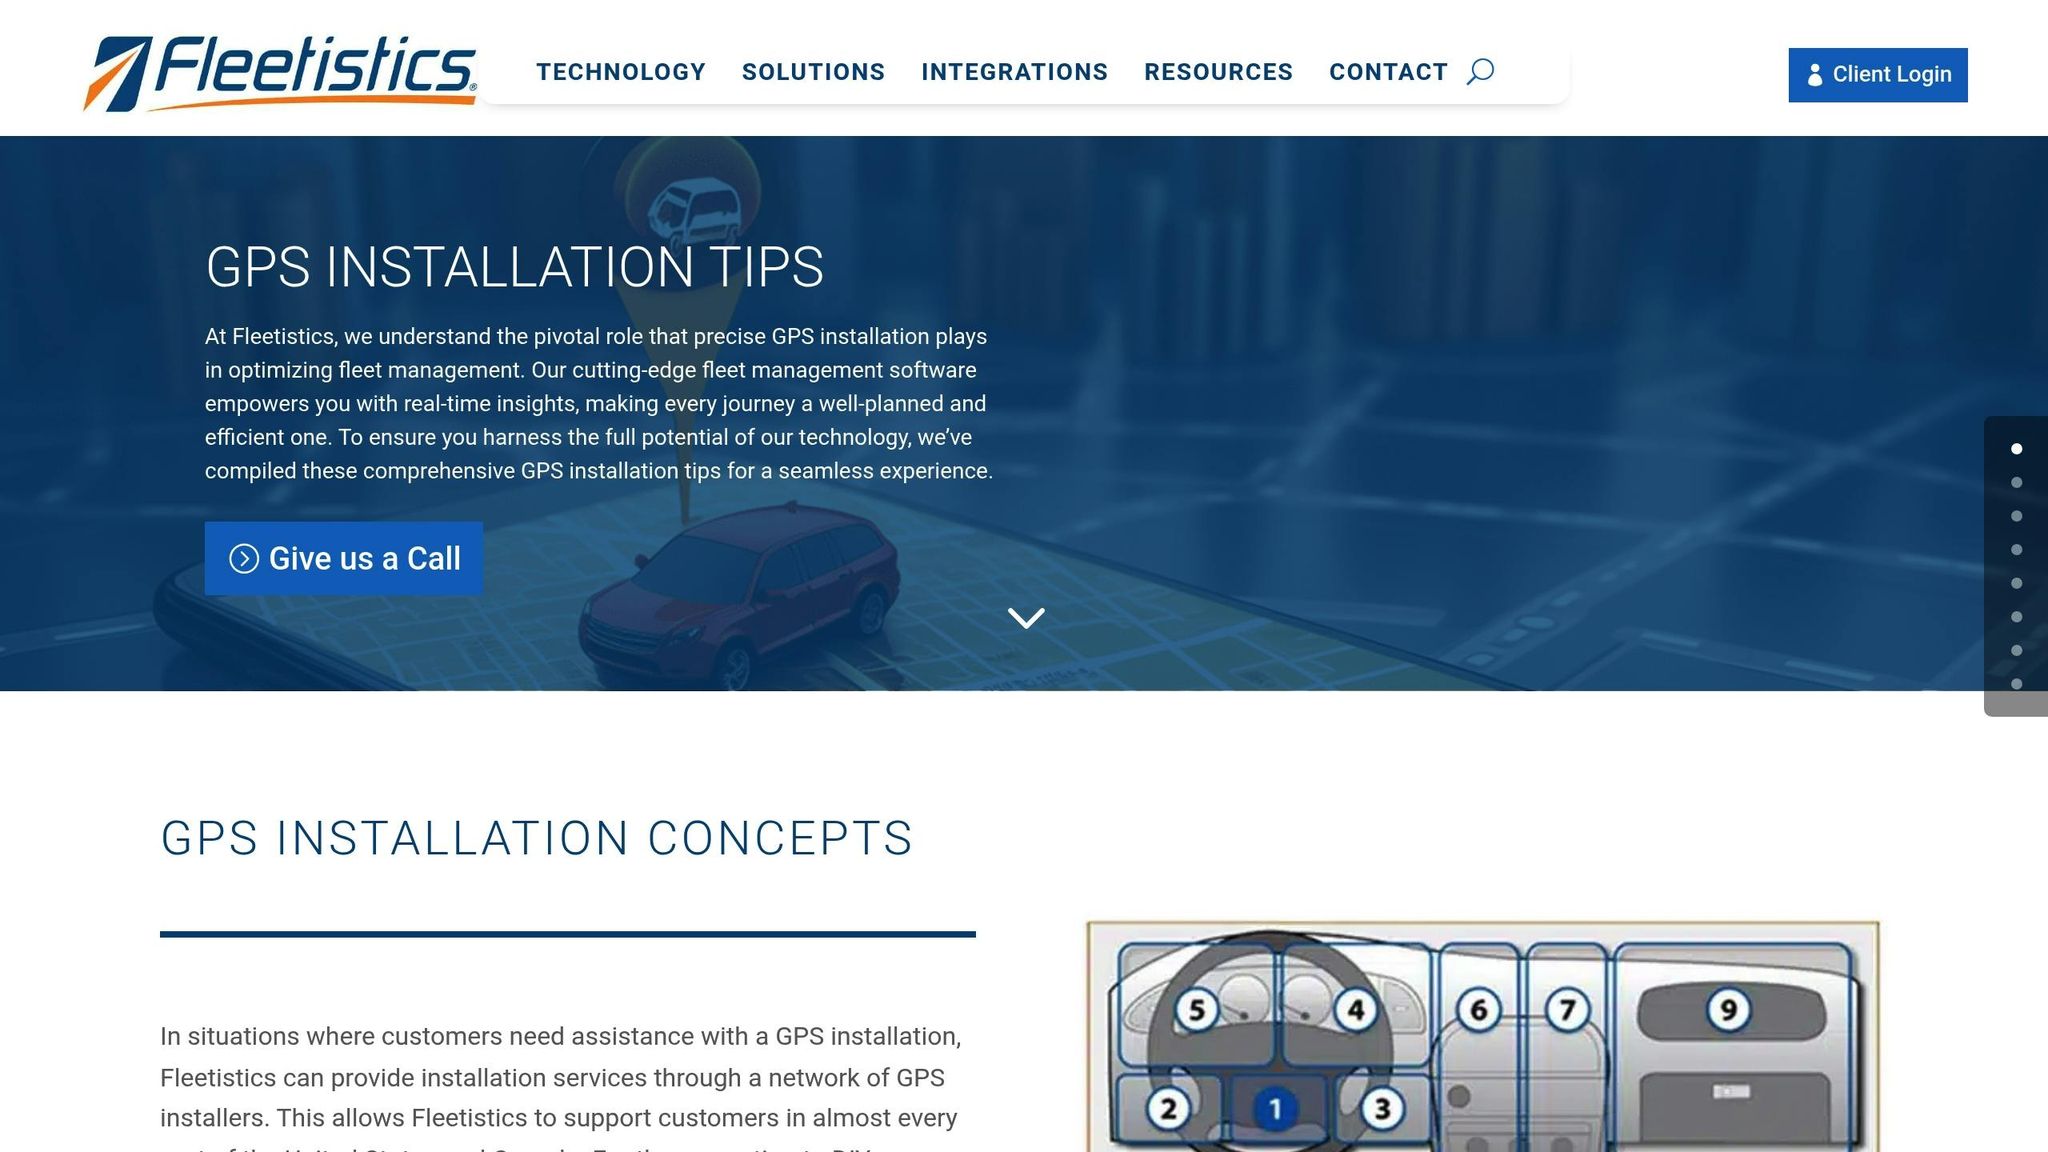
1. Poor Device Placement
Where you position your van tracker can either maximise its efficiency or render it ineffective. Taking the time to carefully select the right spot for installation is essential to ensure both optimal performance and security. Skipping this step could leave you with a tracker that fails when you need it most.
For the best results, the tracker needs an unobstructed view of the sky. Materials like glass, rubber, fibreglass, cardboard, carpets, and plastic allow GPS signals to pass through effectively. On the other hand, metal and concrete significantly weaken those signals, so avoid placing the tracker near or within such materials.
Stay away from locations like under car seats, inside metal compartments, or deeply buried in bags, as these areas can create signal dead zones. Instead, consider spots like the dashboard, behind the glove box, or within the centre console. These locations strike a good balance between strong signal reception and discreet placement.
For added security and signal strength, mounting the tracker near windows or on the vehicle's interior works well. However, avoid external placements, as they can attract theft, and steer clear of the engine bay, where heat and vibration could damage the device. If external mounting is unavoidable, ensure you use a tracker designed to withstand harsh conditions.
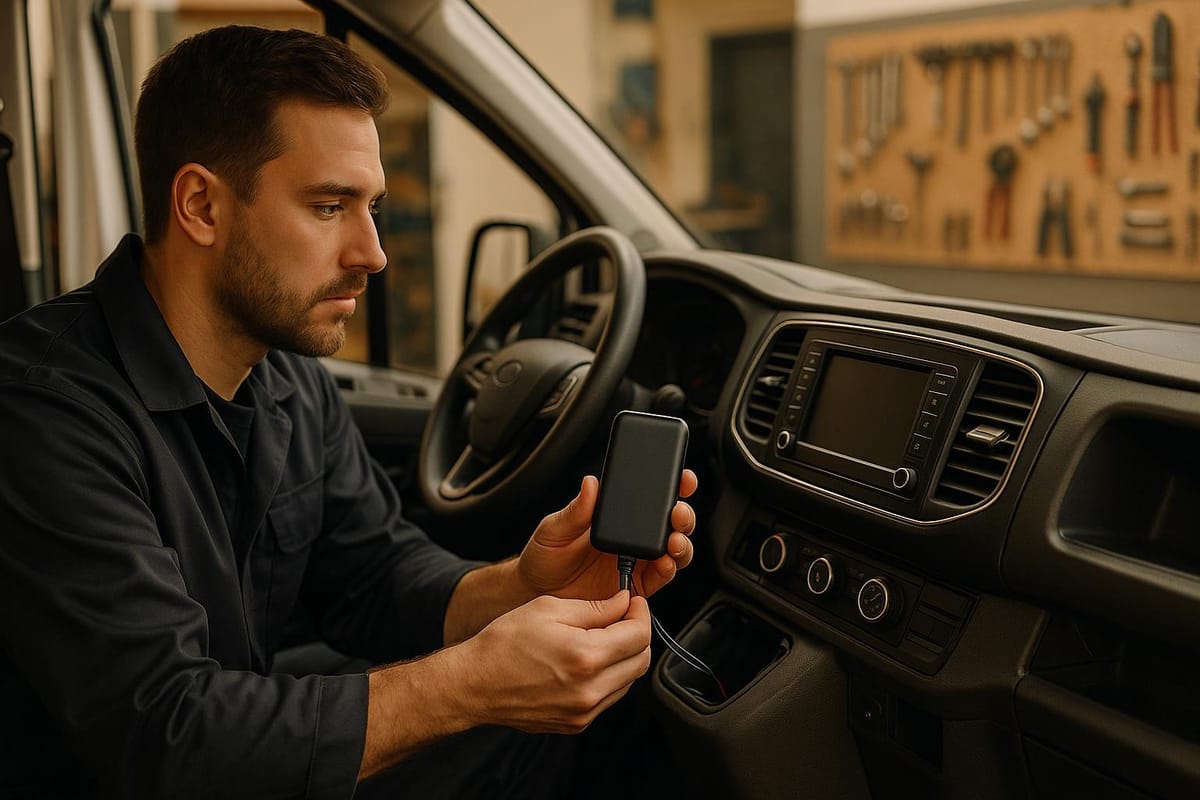
If you're using a hardwired tracker, which connects directly to the van's electrical system for added security, professional installation is highly recommended. This ensures the tracker is installed properly and functions as intended.
Once installed, test the signal strength immediately using a GPS app. Regularly check the tracker’s position to ensure it remains secure and continues to perform reliably over time.
2. Incorrect Wiring or Power Connection
Incorrect wiring is a common mistake during installation that can severely impact your van tracker's performance. It can lead to issues like reduced functionality, battery drainage, blown fuses, or even damage to the vehicle's electrical system.
Getting the wiring right is essential for the tracker's reliability and to maintain the health of your vehicle's battery.
At the core of any hardwired tracker installation are three key connections: constant power (red wire), ignition power (white wire), and ground (black wire). Each wire serves a specific purpose, and mixing them up can cause immediate problems.
Constant Power: The Red Wire
This wire must connect to a power source that delivers 12v–24v DC, regardless of whether the engine is running. One frequent mistake is attaching the red wire to an ignition-dependent power source. If this happens, the tracker may lose power two hours after the engine is turned off, disrupting critical GPS communication.
Ignition Power: The White Wire
The white wire should only receive power when the vehicle is running. If it’s connected to a constant power source by mistake, the tracker might incorrectly indicate that the van is idling even when parked. This results in inaccurate tracking data and unnecessary alerts.
Grounding: The Black Wire
Grounding problems are another source of trouble. The black wire needs to be secured to a clean, bare metal surface - free from paint, rust, or grime - to ensure proper grounding. Using a ring terminal can help secure the black wire firmly to the chosen surface, reducing the chance of signal interference and erratic performance.
Fuse Selection
Choosing the right fuse is also critical. The tracker should be connected to a fuse that powers on only with the ignition. Connecting it to the wrong fuse can drain the van’s battery when the engine is off, potentially leaving you stranded after a period of inactivity.
Tips for Proper Installation
- Use a voltage meter to confirm the correct wires. The reading should be between 11 and 14 volts when the ignition is on and close to zero when it is off.
- Ensure all connections are secure and properly insulated to avoid accidental disconnections or short circuits.
- Practise good wire management by securing connections with zip ties and keeping wires away from moving parts. Tape off any unused wires to prevent them from touching metal surfaces, which could cause intermittent power loss.
Proper wiring not only ensures the tracker operates smoothly but also helps avoid overloading circuits, blowing fuses, and interfering with other vehicle systems.
3. Neglecting SIM Card and Data Requirements
Skipping over SIM card and data setup can leave a van tracker completely useless. Without a solid cellular connection, the tracker won’t be able to send location data or communicate with your monitoring system. It’s a frustrating problem, especially when the hardware itself is installed perfectly.
Choosing the Right SIM Card
Not every SIM card will work with van trackers. Most trackers need a 2G GSM network-based Micro-SIM card (the same size that fits an iPhone 4). However, some modern SIM cards operate exclusively on VoIP or VoLTE protocols, which aren’t compatible with a lot of tracking devices. To avoid issues, make sure your SIM card supports traditional GSM calls, text messaging, and mobile data. Double-check with your provider that the SIM is fully enabled for calls, texts, and data before moving forward.
Once you’ve got the right SIM card, installing it correctly is the next step.
Proper SIM Card Installation
Installing the SIM card might seem simple, but it requires careful handling. Always turn off the tracker before inserting the SIM. Use the tool provided to open the SIM slot and insert the card as directed by the markings. After securing the slot cover to maintain the device’s waterproofing, power the tracker back on and check the indicator lights to confirm it’s working.
Make sure your SIM has an active GPRS data plan, Caller ID service enabled, and PIN protection turned off. A PIN-locked SIM can block the tracker from connecting to the network automatically, causing unnecessary headaches.
With the SIM in place, the next step is to set up a suitable data plan.
Data Plan Considerations
The amount of data your tracker uses depends on the specific model and its features. It’s a good idea to consult the manufacturer to understand the device’s exact data needs before choosing a plan.
IoT (Internet of Things) SIM cards are a popular choice for trackers, costing between 50p and £2 per month. For vehicles that travel across different network zones, machine-to-machine (M2M) SIM cards are a smart option. These cards can automatically switch between network providers to maintain a strong signal, which is particularly useful for commercial vehicles.
Even with the right SIM and data plan, connectivity problems can still pop up.
Common Connectivity Problems
Connectivity issues can stem from several factors. Weak network coverage in your area may lead to dropped or failed data transmission. If this happens, try repositioning the tracker within the vehicle or consider switching to a multi-network SIM provider for better coverage.
Another common issue is incorrect APN (Access Point Name) settings. Some SIM providers require you to manually configure the APN settings to match their network. Reach out to your provider for the correct details and update the settings through your tracker’s configuration interface.
Expired or deactivated SIM cards can also block communication. Setting up automatic renewals for your data plan can help prevent service interruptions. Regularly check your account to ensure it’s active and funded.
Ongoing Maintenance
The work doesn’t stop once the SIM is installed. Regular maintenance is key to keeping your tracker running smoothly. Check that your SIM has enough credit for texts, data, and voice calls - even if you don’t use all these services frequently. Many trackers rely on SMS for configuration updates and emergency messages.
It’s also important to monitor data usage. Sudden spikes could signal a device malfunction or even a security issue that needs immediate attention. Keeping your subscription up to date and watching for unusual activity will help ensure your tracker stays reliable.
Proper SIM card setup and ongoing management are just as important as securely installing the hardware itself. Don’t overlook this critical step if you want your tracker to perform as expected.
4. Failing to Test and Calibrate the System
Overlooking proper testing can make your van tracker seem operational while hiding critical calibration issues. Many van owners assume their tracker is functioning correctly just because it powers on. But this false sense of security can lead to a device that fails when it’s needed the most.
Just as proper installation prevents security gaps, regular testing ensures your tracker performs as expected. Without calibration, your tracker might show inaccurate locations, which could hinder theft recovery, trigger unnecessary alarms, or even jeopardise driver safety.
Initial System Verification
Start by checking the basics. Look at the indicator lights to confirm power, GPS, and network connectivity. If any of these lights behave unusually, resolve the issue before moving forward.
Log into your tracking platform and compare the displayed location with a known landmark or a GPS app on your smartphone. Review the tracking history for any gaps or unexpected jumps in location. These could indicate connectivity problems or sensor malfunctions that need immediate attention. Even small inconsistencies might signal calibration issues.
Once you’ve confirmed the basics, it’s time to test the system in real-world conditions.
Real-World Movement Testing
Take your van for a short drive and monitor its movement on the tracking platform in real time. The system should update continuously and reflect your route accurately. Test the tracker in various environments - like underground car parks, busy urban areas, and rural locations - to evaluate its performance under different signal conditions.
After verifying its accuracy on the road, move on to testing any advanced features your tracker offers.
Advanced Feature Validation
If your tracker includes geofencing, create a test boundary around your current location and drive beyond it. The system should send a notification when you cross the boundary. Similarly, test speed alerts by safely exceeding a set speed limit - perhaps in an empty car park - to ensure they trigger correctly.
For battery-powered trackers, monitor battery levels over a few days to understand normal consumption rates. A rapid battery drain could point to calibration problems or hardware issues.
Finally, test tamper alerts by disconnecting and reconnecting the device. The system should immediately notify you of any interference.
Establishing Regular Testing Routines
Make it a habit to test your tracker monthly. Use a checklist to confirm basic functionality, accuracy, and alert responses.
Keep your tracker’s firmware and platform software updated. Refer to the user manual for specific testing and calibration instructions tailored to your model.
If you notice recurring issues or have concerns about performance, don’t wait - contact customer support. Addressing minor calibration problems early can prevent them from escalating into major failures.
Regular testing and calibration ensure your van tracker remains a reliable tool to protect your business when it counts the most.
5. Ignoring Software and Firmware Updates
Skipping firmware updates can lead to problems down the road. While proper installation and calibration help avoid immediate hiccups, keeping software up to date ensures your system stays reliable over time. Unfortunately, many fleet managers install trackers and then forget about them, missing out on important improvements and leaving their systems vulnerable.
Outdated firmware can expose trackers to cyberattacks by exploiting known weaknesses. It can also cause location errors, connectivity problems, or even system crashes. On the other hand, updates can refine GPS accuracy, improve battery efficiency, and add new features to enhance functionality.
Creating an Update Schedule
Updating firmware isn’t just a good idea - it’s essential for keeping your system running smoothly. Make it a habit to check for updates regularly or enable automatic updates if available. Manufacturers often release firmware updates every few months, but security fixes can come out more frequently if vulnerabilities are discovered. Keep an eye on the manufacturer’s website or their social media for announcements about critical updates.
Managing Updates Across Multiple Vehicles
For fleet operators managing several trackers, updating can feel like a logistical challenge. The key is to plan updates carefully. Schedule them during off-peak hours and tackle them in batches to minimise disruption while maintaining coverage.
Security updates, in particular, should be applied as soon as they’re available. A short downtime for updates is a small price to pay compared to the potential fallout from a data breach. By staying on top of updates, your van tracker evolves from a simple monitoring tool into a robust system that adapts to new threats and operational demands.
Providers like GRS Fleet Telematics offer advanced tracking solutions with reliable update protocols, ensuring your system remains secure and efficient. When combined with regular testing and proactive updates, you’ll enjoy ongoing protection and peak performance.
Comparison Table
Below is a comparison of best practices versus common mistakes, highlighting key points from the installation guide.
| Installation Aspect | Proper Practice | Common Mistake | Impact on Performance |
|---|---|---|---|
| Device Placement | Mount the tracker near the windscreen or on the exterior, ensuring the GPS antenna has a clear view of the sky and is kept away from metal objects. | Installing the tracker under the dashboard or in metal compartments where signals can be blocked. | Proper placement ensures accurate GPS signals; poor placement can lead to location errors and unreliable tracking. |
| Wiring & Power | Connect the red wire to the positive terminal and the black wire to the negative, ensuring secure connections and using the correct gauge. | Using incorrect wiring, leaving terminals loose, or failing to ground the device properly. | Proper wiring ensures stable power; mistakes can cause frequent failures and lead to costly repairs. |
| Data Setup | Activate the SIM card, configure APN settings, and test data connectivity before completing the installation. | Skipping SIM activation, neglecting network configuration, or assuming connectivity without testing. | Correct setup enables real-time tracking; skipping this step can result in complete communication failure. |
| Testing & Calibration | Perform thorough system tests, verify GPS accuracy, and check all monitoring features. | Assuming everything works without testing. | Regular testing and calibration catch issues early, ensuring consistent and accurate tracking. |
| Software Maintenance | Enable automatic updates, install security patches promptly, and follow a regular update schedule. | Ignoring firmware updates or taking a "set-and-forget" approach. | Keeping software updated prevents security risks and ensures smooth system performance. |
Incorrect installation can disrupt fleet operations and result in unnecessary expenses. Expert technicians, familiar with vehicle electrical systems and proper device placement, are essential for a successful setup. GRS Fleet Telematics offers professional installation services and ensures timely updates to keep your tracker secure and efficient. By adhering to these practices, you’ll maintain your van tracker's reliability and protect your fleet with confidence.
Conclusion
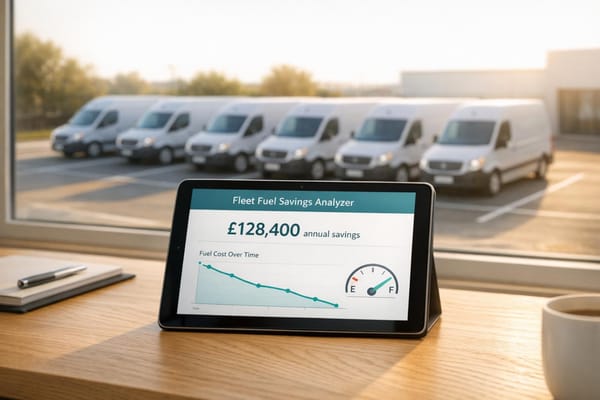
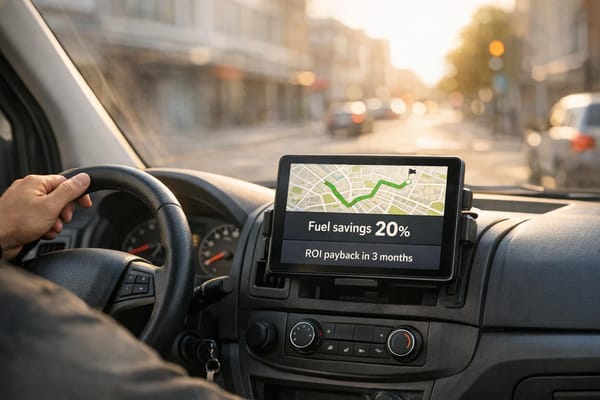
The installation mistakes highlighted earlier can significantly affect your fleet's performance and safety. Addressing these errors can save an average of £152.50 per vehicle each month and reduce fuel expenses by as much as 15%. These figures clearly show how important it is to get the installation right.
Beyond fuel savings, proper installation also leads to lower insurance premiums, reduced maintenance costs, and smoother operations.
"Investing in GRS van trackers has been one of our best business decisions. We've reduced fuel consumption by 18%, virtually eliminated unauthorised van usage, and improved our delivery times. Their tracker for van units has outperformed every system we used before." – James Davidson, Fleet Manager, Express Couriers
When installed correctly, trackers not only improve security but also help ensure compliance and maximise your return on investment. Features like real-time compliance monitoring support safer, more lawful operations and help avoid fines or penalties.
At just £7.99 per vehicle per month, GRS Fleet Telematics offers an all-in-one tracking solution. This includes a SIM card, data, account management, and platform access. Combined with proper installation, this system delivers clear financial and operational advantages.
Sloppy installation can result in breakdowns, unreliable tracking, and security vulnerabilities. By following the right steps, you’ll ensure your van tracker works flawlessly from day one - protecting your fleet and driving measurable results for your business.
FAQs
Where should I install my van tracker to ensure the best GPS signal?
To get the best GPS signal for your van tracker, choose a spot with minimal metal interference. Good places include the plastic rear bumper, beneath the roof lining, or under the seats. If your tracker has a magnetic mount, you can also attach it securely to the vehicle's undercarriage. Make sure to keep it away from dense metal areas, as these can weaken the signal.
For a professional setup and better performance, you might want to consult experts or explore specialised tracking solutions like those from GRS Fleet Telematics. They offer secure and dependable tracking options for businesses throughout the UK.
How can I ensure my van tracker's SIM card and data plan are set up correctly?
To get your van tracker's SIM card and data plan up and running, start by inserting the SIM card into the tracker and activating it according to your provider's instructions. This can usually be done online or over the phone. Once activated, check the tracker's indicator lights. In most cases, a blue light signals GSM connectivity, while a yellow light indicates the GPS is functioning properly.
Ensure the SIM card is linked to an active data plan with enough allowance to keep the tracker operational. For dependable service across the UK, it's a good idea to use an M2M (machine-to-machine) SIM card, as these are specifically designed to maintain strong and consistent connectivity.
Why should I keep my van tracker’s software and firmware up to date, and how can I do this efficiently for multiple vehicles?
Keeping your van tracker’s software and firmware current is crucial for ensuring security, boosting performance, and unlocking new features. These updates often include important security fixes that help shield your fleet from cyber threats, keeping both your vehicles and data protected.
For fleet operators, handling updates can be streamlined with Over-The-Air (OTA) technology. This allows you to update devices remotely, eliminating the need to physically access each van. Pairing this with a centralised fleet management platform makes it easier to monitor and schedule updates for all vehicles, saving time and reducing interruptions to your daily operations.